
Rugby union is a complex and dynamic sport defined by its specialized rugby union positions, each with distinct rugby union positions and roles crucial to team success. Understanding positions in rugby explained, including positions in rugby scrum and where they stand on field, is key to appreciating the game’s strategy. Let’s break down how many players in a rugby team, explore every jersey number, and detail rugby union positions and what they do, including Australian terminology.
The Team Structure: How Many Players?
A standard rugby team fields 15 players at the start of a match. This starting XV (15) is divided into two main units: the Forwards (jerseys 1-8) and the Backs (jerseys 9-15). However, the full matchday squad typically consists of 23 players, allowing for 8 substitutes (often called finishers or bench players) who can be rotated to maintain intensity or cover injuries.
The Engine Room: The Forwards (The Pack – #1-#8)
The Forwards, collectively known as the Pack, provide the physical foundation. They are further divided into the Tight Five and the Loose Forwards (or Back Row / Loose Trio). Their core responsibilities involve winning possession in set pieces (scrum, lineout) and breakdowns (ruck, maul), carrying the ball powerfully, and tackling relentlessly.
- Loosehead Prop (LH Prop, #1): Part of the Front Row. Anchors the scrum’s left side. Primary roles are scrummaging power (pushing), lifting in lineouts, and providing strength in tight carries and tackles. Needs immense neck and shoulder strength.
- Hooker (#2): The central figure in the Front Row. Throws the ball into lineouts and must “hook” the ball back in the scrum with their feet. Requires accuracy, agility, and surprising strength. Key communicator in set pieces.
- Tighthead Prop (TH Prop, #3): The cornerstone of the Front Row on the scrum’s right side. Bears the most pressure in the scrum core. Similar roles to the Loosehead: powerful scrummaging, lifting, and tackling. Critical for front row engagement stability.
- Lock (Second Row, #4 & #5): The towering figures in the Second Row. Primary targets in the lineout (the jumpers). Provide the main driving power in the scrum, binding directly behind the Front Row. Crucial for securing restarts and performing heavy defensive work. Often called the “engine room”.
- Blindside Flanker (Blindside, #6): Part of the Back Row / Loose Trio. Positioned on the short side of scrums and rucks. A powerful tackler and ball carrier, often tasked with disrupting the opposition fly-half or protecting the scrum’s blindside channel. Known as a Breakaway in Australia.
- Openside Flanker (Openside, #7): The other half of the Loose Forwards. Positioned on the wide side of scrums and rucks. The primary “poacher” or “jackal” at the breakdown, aiming to win turnovers. Requires exceptional speed, agility, and anticipation. Also called a Breakaway in Australia.
- Number 8 (No. 8, Eightman, #8): The anchor of the Back Row / Loose Trio and the link between Forwards and Backs. Controls the ball at the base of the scrum. A key ball carrier off the back of scrums and lineouts, providing powerful runs through the midfield. Strong defensive presence and often a key link player. This is the “8 man rugby” position.
The Playmakers & Finishers: The Backs (#9-#15)
The Backs are generally faster and more agile, responsible for creating and finishing attacking moves, kicking strategically, and organizing the defense in wider channels. They are sometimes referred to as the Three-quarters (#11-#14) or grouped as Inside Backs (#9-#12) and Outside Backs (#13-#15).
- Scrum-half (Half-back, #9): The vital link between Forwards and Backs. Retrieves the ball from scrums, rucks, and mauls and feeds the Fly-half. Controls the tempo, makes quick decisions, and needs an accurate pass. Often the smallest player but with immense game intelligence and bravery.
- Fly-half (Outside-half, Stand-off, Five-eighth (Aus/NZ), First five-eighth (NZ), #10): The chief playmaker and tactician. Receives the ball from the Scrum-half and dictates play – passing, kicking for territory or tactically, or running the attack. Responsible for organizing the backline defense and often the primary goalkicker. Needs vision, composure, and excellent kicking/passing skills.
- Inside Centre (Second five-eighth (NZ), #12): The first of the Centres (Inside Backs). A powerful runner who aims to break the gain line, often taking the ball directly from the Fly-half. Needs strong defensive tackling skills, good distribution, and the ability to offload in contact. Acts as a secondary playmaker.
- Outside Centre (#13): The wider Centre (Inside Backs). Often the most creative attacker in the backline, looking for gaps and creating opportunities for the Wings. Requires pace, agility, strong tackling (often covering the widest channel in midfield), and evasive running skills.
- Left Wing (#11): An Outside Back and Three-quarter. Primarily a finisher, using extreme pace to score tries in the corner. Also covers the backfield defensively and fields kicks. Needs top speed, agility, and the ability to beat defenders one-on-one.
- Right Wing (#14): The mirror image of the Left Wing. Another Outside Back and Three-quarter whose main role is finishing attacking moves with speed. Also involved in kick returns and defensive coverage.
- Fullback (#15): The last line of defense and often the counter-attack launchpad. Positioned deep behind the main backline. Fields opposition kicks, joins the attacking line as an extra player, and must be a secure tackler. Requires excellent positional sense, safe hands under high balls, strong kicking ability, and attacking flair.
Rugby Union Positions in Scrum: The Eight-Man Shove
The scrum is a defining set piece where the Forwards bind together to contest possession. Positions in rugby scrum are highly specialized:
- Front Row Positions: #1 (Loosehead Prop), #2 (Hooker), #3 (Tighthead Prop). They form the front line, binding together with the hooker in the center. Their front row engagement and stability are critical.
- Second Row Positions: #4 & #5 (Locks). They bind directly behind the Front Row, heads between the props and hooker, providing the primary driving power.
- Back Row Positions: #6 (Blindside Flanker) binds on the blindside (short side), #7 (Openside Flanker) binds on the openside (wide side), and #8 (Number 8) binds at the very back, controlling the ball. The loose trio provides stability and a platform for the #8 to pick up.
Rugby Union Positions Australia: Slight Nuances
While the core rugby union positions and their roles are universal, Australian terminology has some variations:
- Flankers (#6 & #7): Commonly called Breakaways.
- Fly-half (#10): Almost exclusively called Five-eighth.
- Inside Centre (#12): Sometimes referred to as Second five-eighth, reflecting the New Zealand influence.
Understanding the Field Diagram
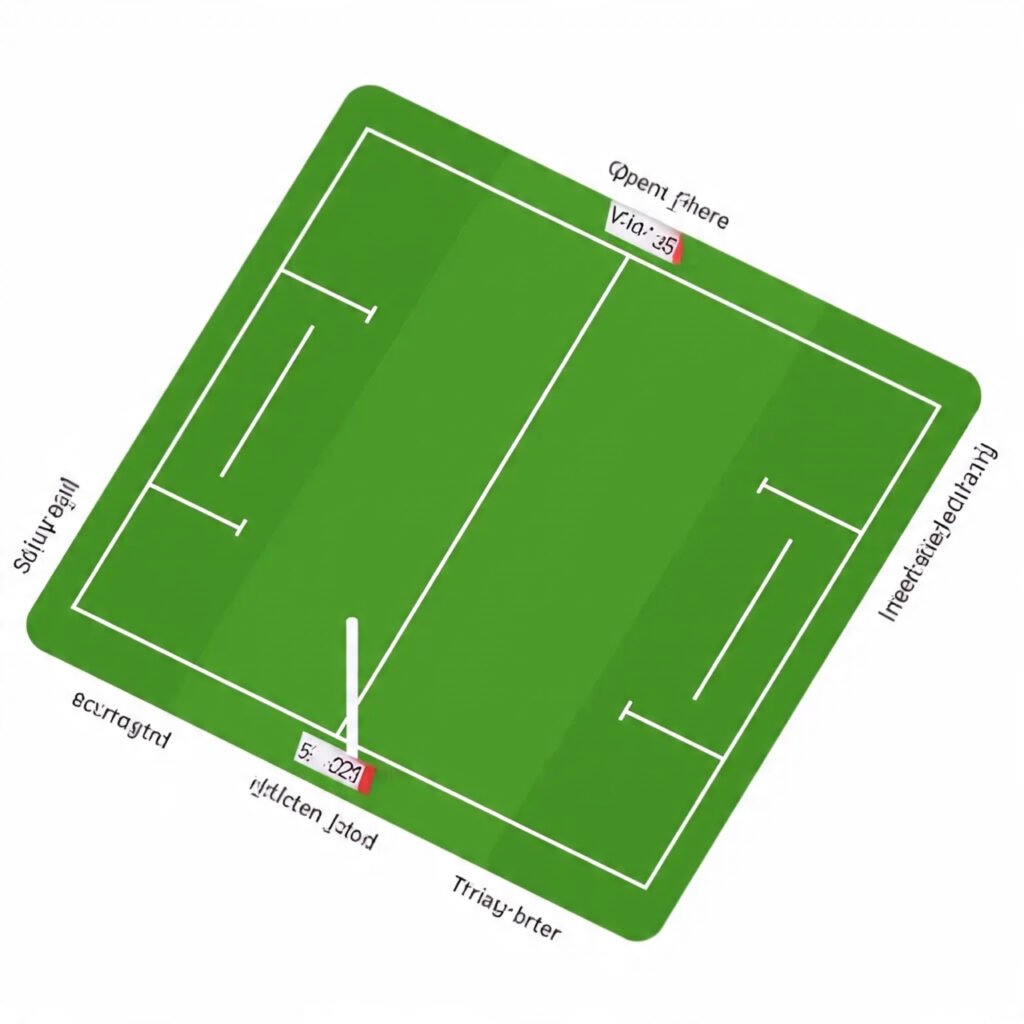
A rugby field diagram shows the typical rugby union positions on field during open play. The Forwards are generally positioned closer to the breakdown (ruck/maul) or set piece. The Scrum-half (#9) is always near the ball source. The Fly-half (#10) stands deeper to orchestrate. The Centres (#12, #13) form the midfield, with the Wings (#11, #14) positioned wide near the touchlines. The Fullback (#15) patrols the deep space behind them. Positional play constantly shifts based on phase, attack, and defense.
In Summary:
Understanding the rugby team composition, the rugby union positions and what they do, and how they interact – from the power of the Pack in the scrum to the speed of the Backs – reveals rugby’s intricate beauty. Each position, defined by its specific rugby position roles, duties, and attributes, contributes uniquely to the team structure. Whether it’s the Number 8 controlling the scrum base, the Five-eighth directing play in Australia, or the Wing sprinting for the corner, every player’s job description is vital for the matchday squad to function as one cohesive unit.